Update – Prefabs
Unity recently (version 2018.3) changed the way that Prefabs work.
You can still edit a Prefab directly in the Scene – but you now also have the new “Prefab Mode”.
For some things this may be a little inconvenient, but it does open up some new possibilities (for example, you can now nest a prefab inside another).
Here’s how the new system works:
Creating Prefabs
This hasn’t changed – the quickest way to do this is to drag the GameObject over from the Hierarchy, into the Project tab.
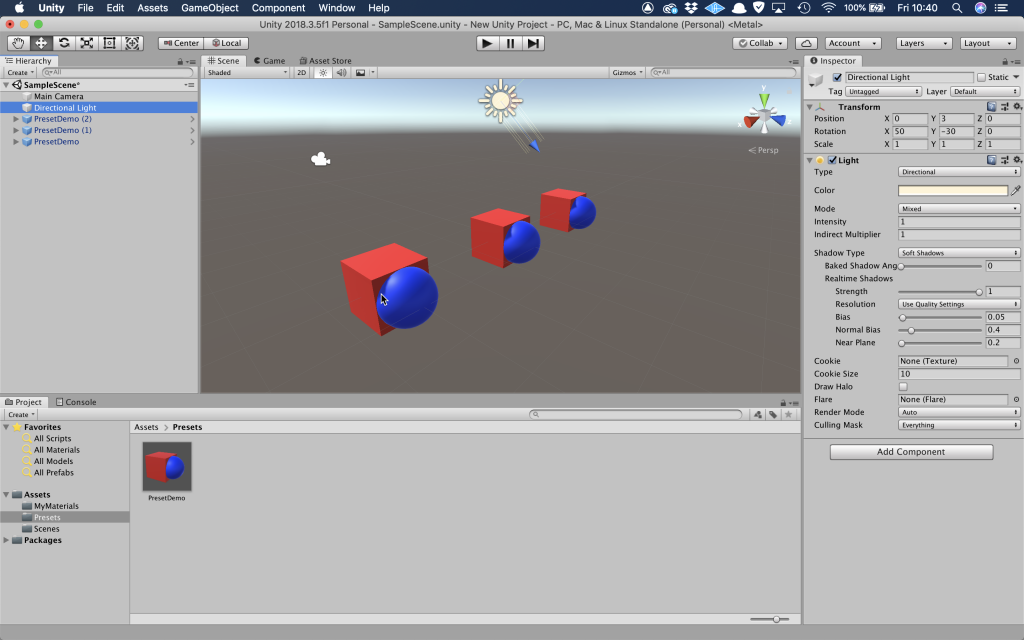
This screenshot shows a Prefab that I’ve placed three times in the Scene.

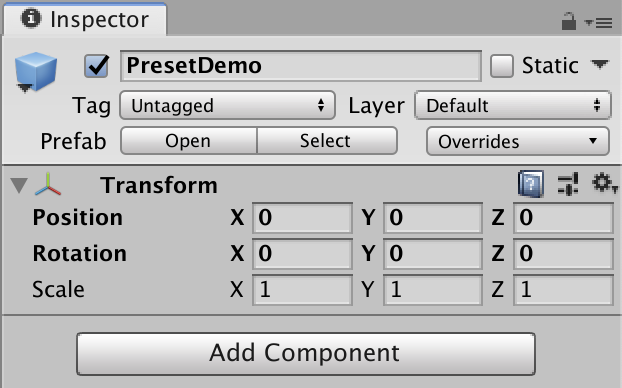
If you select a Prefab, you can still make changes to it (or “override” the Prefab Master settings) – however, you no longer see the options of “Revert” and “Apply” (Select is still there, and behaves as it always did, selecting the Prefab Master in the Project Tab).
Instead, you see buttons for “Open” and “Overrides”.

Overrides
Overrides gives you the options to Revert All (reset the Prefab instances to the same as the Prefab Master), and “Apply All” (apply the changes made to all of the Prefabs and the Prefab Master).
Where this really changes things though, is that you have the ability to decide which of your changes/overrides are reverted.
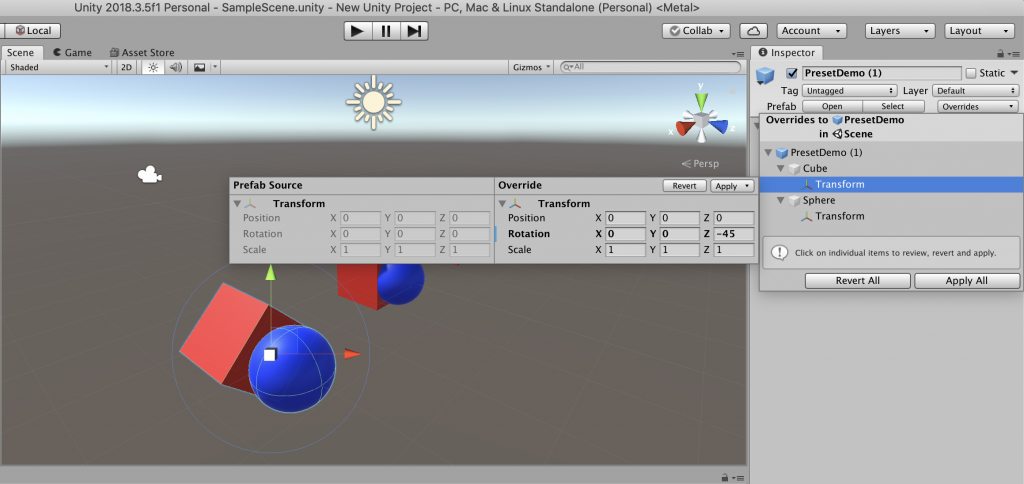
I’ve changed one of the Prefabs – I’ve moved the Sphere along the Z axis, and rotated the Cube.
When I click on the Overrides button, you can tell that these transform overrides have been made, as you can see a Transform icon under the GameObject icon.

if I select the Cube Transform icon, it allows me to compare this to the Prefab Master settings.
I can then choose to Revert or Apply this specific override
Open
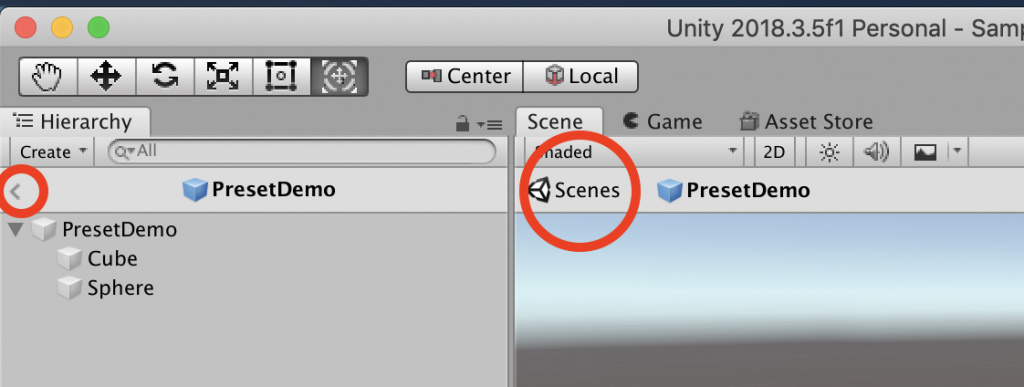
Clicking on the Open button takes you into the Prefab Editor, where you can see the Prefab Master in isolation.
Any changes you make here will immediately take effect in the Scene to all Prefabs that have not had any overrides applied.
To get back to the Scene, either click on the arrow in the top left of the Hierarchy, or where it says “Scenes” above the Prefab Editor


